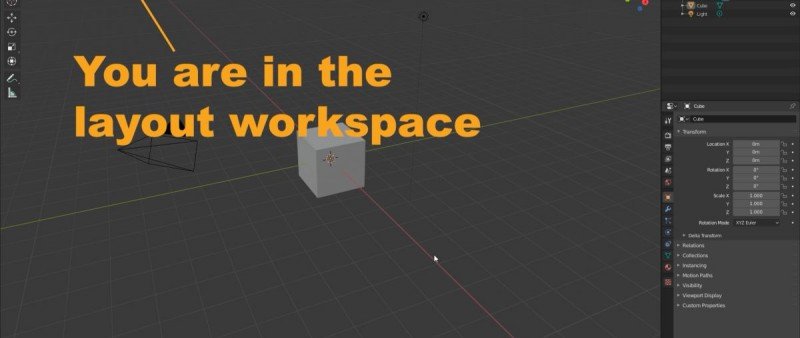
The Default Startup Layout Workspace:
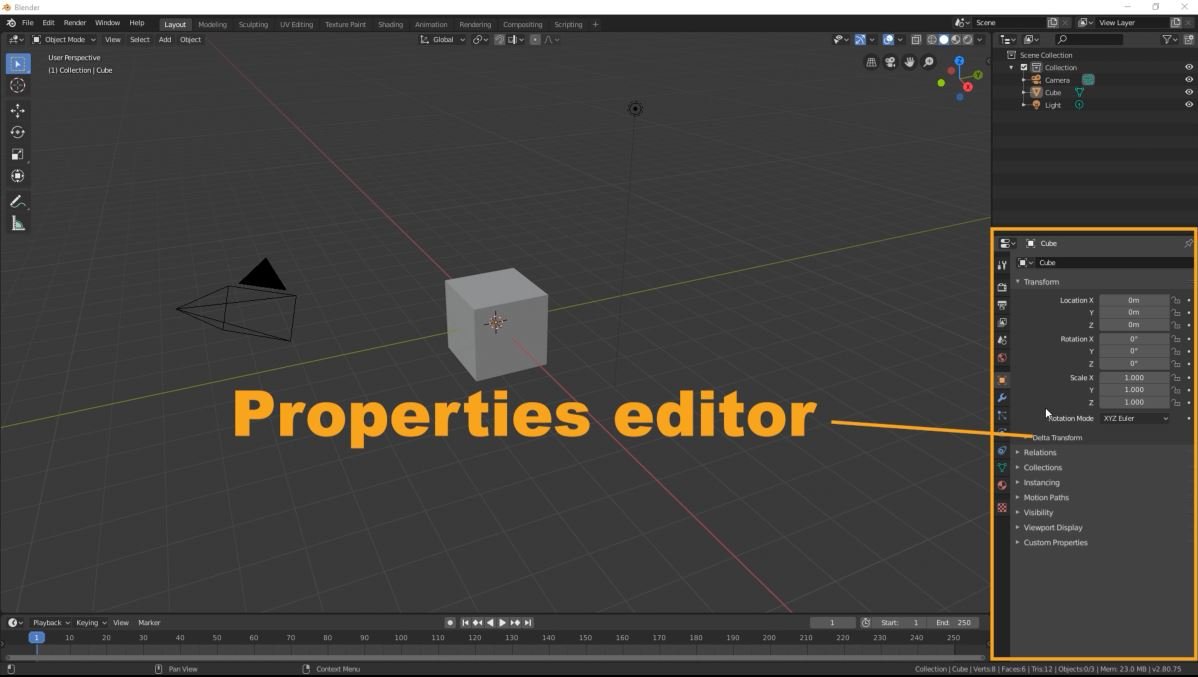
By default, Blender presents a layout workspace called "Default Startup." This workspace provides a general arrangement of editors to help you preview your scene and objects. It consists of four areas, each containing specific editors that play crucial roles in your workflow.
- 3D Viewport: Located in the top-left area, the 3D viewport is where you can view and manipulate your 3D scene. It allows you to navigate, interact with objects, apply transformations, and much more. As we progress through the course, we will explore the 3D viewport in detail.
- Outliner: Found in the top-right area, the outliner provides an overview of your scene's hierarchy. It displays all the objects, collections, and other elements in a structured manner. The outliner is a valuable tool for organizing and managing your project.
- Properties Editor: Situated in the bottom-right area, the properties editor gives you access to various settings and properties related to objects, materials, textures, rendering, and more. It is a versatile editor that offers extensive customization options for your project.
- Timeline: Located in the bottom-left area, the timeline editor allows you to work with animation and keyframes. Here, you can create, manipulate, and fine-tune animations for your objects. The timeline editor is an essential tool for bringing your scenes to life.

Having a solid understanding of the full layout overview in Blender is crucial for navigating the software efficiently. By familiarizing yourself with the 3D viewport, outliner, properties editor, and timeline, you gain control over your projects and can optimize your workflow.
To further enhance your understanding of the default layout in Blender, we have included a comprehensive video tutorial that walks you through each editor and region. In this video, you'll visually explore the 3D viewport, outliner, properties editor, and timeline, gaining valuable insights into their functionalities and how they contribute to your workflow.
By watching the video, you'll witness firsthand how to navigate the interface, manipulate objects in the 3D viewport, organize your scene using the outliner, customize properties in the properties editor, and bring your creations to life with animations in the timeline. This visual demonstration will provide you with a deeper understanding of Blender's default layout and empower you to utilize its features effectively.
Whether you're a beginner looking to grasp the basics or an experienced user seeking to optimize your workflow, this video tutorial is a valuable resource that will take your Blender skills to the next level. So don't miss out! Click play and embark on a journey to master the default layout in Blender.
Please note that the article above provides a general overview, and you may want to expand on each section with more detailed explanations.
Author E.Mulas @electronicmulas


